Learning Examples | Foundations | Hacking | Links
Examples > SD Read/Write
Using the SD library to read and write to a file on a SD card
his example shows how to read and write data to and from an SD card. Please click here for more information on the SD library.
Hardware Required
- Arduino board
- Ethernet Shield (or other board with an SD slot)
- Formatted SD card
Circuit
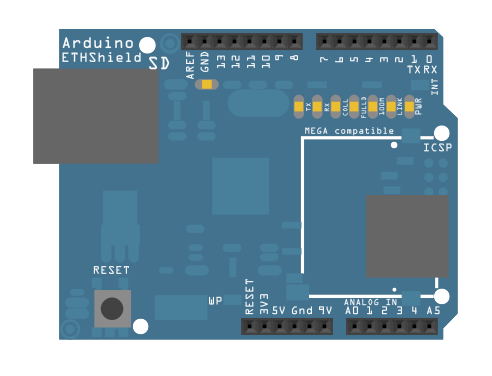
image developed using Fritzing. For more circuit examples, see the Fritzing project page
None, but the Arduino has to have the Ethernet Shield and a USB cable connected to the computer.
Code
The code below is configured for use with an Ethernet shield, which has an onboard SD slot. In the setup(), we call SD.begin(), naming pin 4 as the CS pin. This pin varies depending on the make of shield or board you are using.
In setup(), create a new file with SD.open() named "test.txt". FILE_WRITE enables read and write access to the file, starting at the end. If a file "test.txt" was already on the card, that file would be opened.
Name the instance of the opened file "myFile".
Once opened, use myFile.println() to write a string to the card, followed by a carriage return. Once the content is written, close the file.
Again, open the file with SD.open(). Once opened, ask the Arduino to read the contents of the file with SD.read() and send them over the serial port. After all the contents of the file are read, close the file with SD.close().
SD card read/write
This example shows how to read and write data to and from an SD card file
The circuit:
* SD card attached to SPI bus as follows:
** MOSI - pin 11
** MISO - pin 12
** CLK - pin 13
** CS - pin 4
created Nov 2010
by David A. Mellis
updated 2 Dec 2010
by Tom Igoe
This example code is in the public domain.
*/
#include <SD.h>
File myFile;
void setup()
{
Serial.begin(9600);
Serial.print("Initializing SD card...");
// On the Ethernet Shield, CS is pin 4. It's set as an output by default.
// Note that even if it's not used as the CS pin, the hardware SS pin
// (10 on most Arduino boards, 53 on the Mega) must be left as an output
// or the SD library functions will not work.
pinMode(10, OUTPUT);
if (!SD.begin(4)) {
Serial.println("initialization failed!");
return;
}
Serial.println("initialization done.");
// open the file. note that only one file can be open at a time,
// so you have to close this one before opening another.
myFile = SD.open("test.txt", FILE_WRITE);
// if the file opened okay, write to it:
if (myFile) {
Serial.print("Writing to test.txt...");
myFile.println("testing 1, 2, 3.");
// close the file:
myFile.close();
Serial.println("done.");
} else {
// if the file didn't open, print an error:
Serial.println("error opening test.txt");
}
// re-open the file for reading:
myFile = SD.open("test.txt");
if (myFile) {
Serial.println("test.txt:");
// read from the file until there's nothing else in it:
while (myFile.available()) {
Serial.write(myFile.read());
}
// close the file:
myFile.close();
} else {
// if the file didn't open, print an error:
Serial.println("error opening test.txt");
}
}
void loop()
{
// nothing happens after setup
}