Learning Examples | Foundations | Hacking | Links
Examples > Ethernet Library
Chat (Telnet) Client
In this example, you will use your Ethernet Shield and your Arduino to make a chat client.
Hardware Required
- Arduino Ethernet Shield
- Shield-compatible Arduino board
Circuit
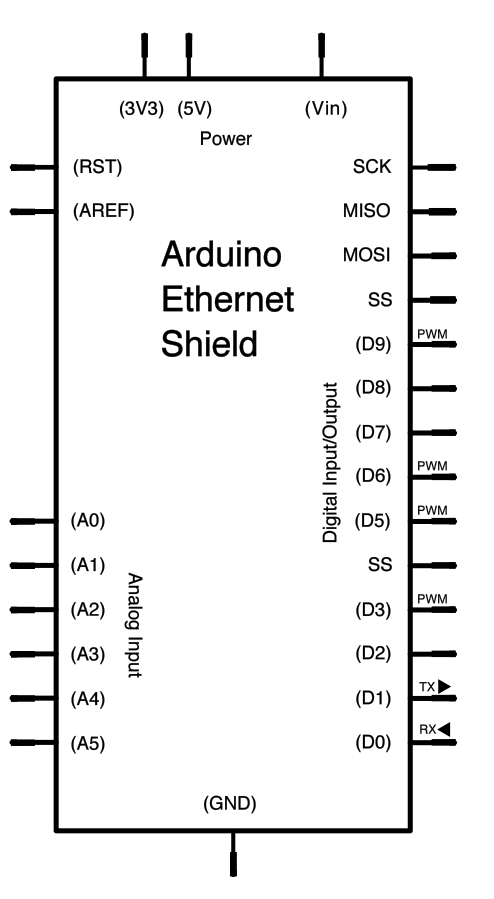
The Ethernet shield allows you to connect a WizNet Ethernet controller to the Arduino via the SPI bus. It uses pins 10, 11, 12, and 13 for the SPI connection to the WizNet. Later models of the Ethernet shield also have an SD Card on board. Digital pin 4 is used to control the slave select pin on the SD card.
The shield should be connected to a network with an ethernet cable. You will need to change the network settings in the program to correspond to your network.
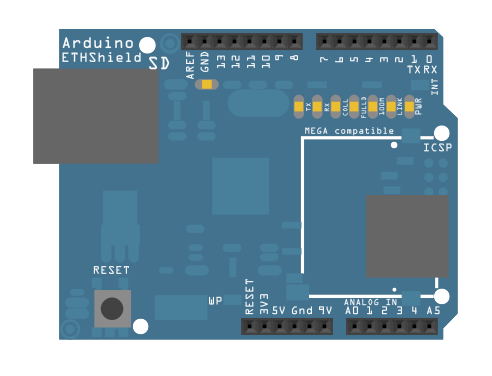
image developed using Fritzing. For more circuit examples, see the Fritzing project page
In the above image, your Arduino would be stacked below the Ethernet shield.
Schematic
Code
Telnet client
This sketch connects to a a telnet server (http://www.google.com)
using an Arduino Wiznet Ethernet shield. You'll need a telnet server
to test this with.
Processing's ChatServer example (part of the network library) works well,
running on port 10002. It can be found as part of the examples
in the Processing application, available at
http://processing.org/
Circuit:
* Ethernet shield attached to pins 10, 11, 12, 13
created 14 Sep 2010
by Tom Igoe
*/
#include <SPI.h>
#include <Ethernet.h>
// Enter a MAC address and IP address for your controller below.
// The IP address will be dependent on your local network:
byte mac[] = {
0xDE, 0xAD, 0xBE, 0xEF, 0xFE, 0xED };
IPAddress ip(192,168,1,177);
// Enter the IP address of the server you're connecting to:
IPAddress server(1,1,1,1);
// Initialize the Ethernet client library
// with the IP address and port of the server
// that you want to connect to (port 23 is default for telnet;
// if you're using Processing's ChatServer, use port 10002):
EthernetClient client;
void setup() {
// start the Ethernet connection:
Ethernet.begin(mac, ip);
// start the serial library:
Serial.begin(9600);
// give the Ethernet shield a second to initialize:
delay(1000);
Serial.println("connecting...");
// if you get a connection, report back via serial:
if (client.connect(server, 10002)) {
Serial.println("connected");
}
else {
// if you didn't get a connection to the server:
Serial.println("connection failed");
}
}
void loop()
{
// if there are incoming bytes available
// from the server, read them and print them:
if (client.available()) {
char c = client.read();
Serial.print(c);
}
// as long as there are bytes in the serial queue,
// read them and send them out the socket if it's open:
while (Serial.available() > 0) {
char inChar = Serial.read();
if (client.connected()) {
client.print(inChar);
}
}
// if the server's disconnected, stop the client:
if (!client.connected()) {
Serial.println();
Serial.println("disconnecting.");
client.stop();
// do nothing:
while(true);
}
}